Just Follow Below Steps:-
Format By Using Disk Management
Step-1: Open Disk Management. Right click on My Computer and select item
"Manage", and then click Disk Management on the left side. In the center
section you can see local hard drive and partitions and the USB drive
which can be recognized by capacity.

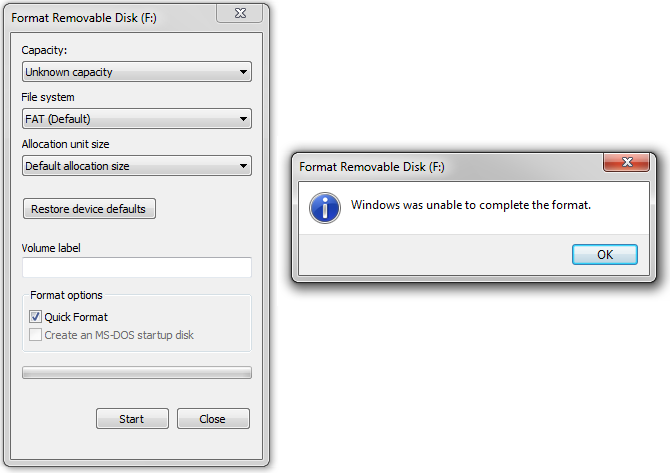
Step-2: Right click the flash drive and select "Format" option and select file
system format to perform quick format.
However, this action is not workable in some cases, and you need to try step 3.
However, this action is not workable in some cases, and you need to try step 3.
Step-3: Right click on the USB drive and select "New Simple Volume" item. You'll
get the New Simple Volume Wizard which guides you recreate new
partition for the flash drive. Operations are following the onscreen
instructions, setting options and click "Next" button. When the process
is done, you'll find the USB drive has been formatted and is properly
recognized by system.
Format With Command Prompt
Step-1:
For Windows 7 users click Start button and type cmd
in the search both and press Enter. If UAC is enabled, you need to find
Command Prompt from start menu and run it as administrator.
Step-2: Type command diskpart on the black
windows and press Enter key. Then you can see partition and disk list
of current computer. All drives are listed with numbers and Disk 4 is
the flash drive in question.

Step-3: Continue typing disk 4 which is
the problem drive and clean and press Enter. The drive will be scanned
and its damaged file structure will be erased during scanning.
Step-4: Type create primary partition and hit Enter; next type in Command prompt format /FS:FAT32J:
(you can copy and paste it.) and press Enter. Here J is the drive
letter of the USB drive, and you can change it in line with specific
cases. The drive will be formatted to FAT file system and the formatting
is very fast.
EmoticonEmoticon